


Dragon Photo Diagrams
I have probably folded this model more times than any other origami model. I folded it as a present for my wife on our very first date! Like many origami dragons, it derives from a stretched bird base. I have incorporated a pleat into it, and added a half-frog base to form the facial features. This model is high-intermediate, and can be folded from almost any paper. I have used a 40cm sheet of craft paper below.
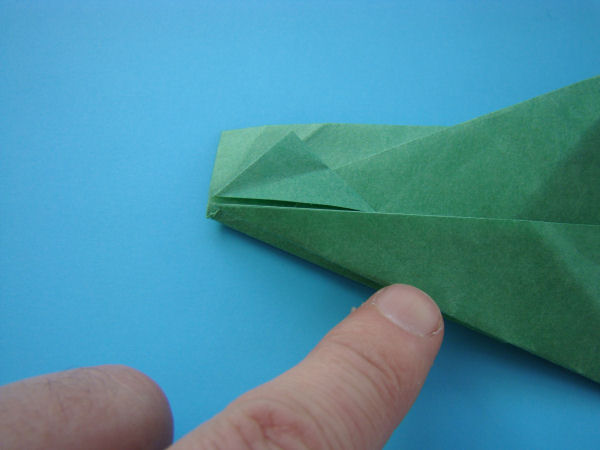
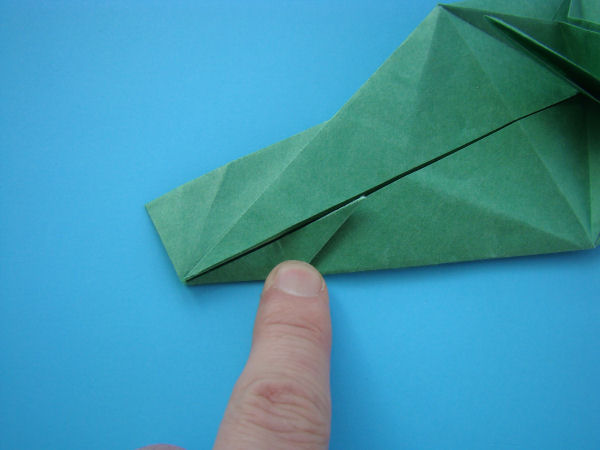
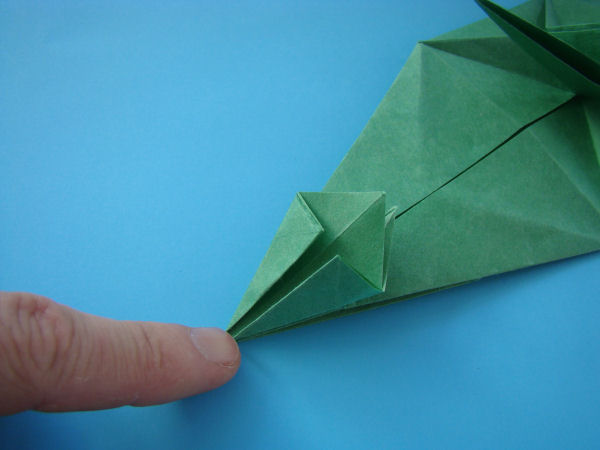
Step 51 Reverse fold the corner through, like so.
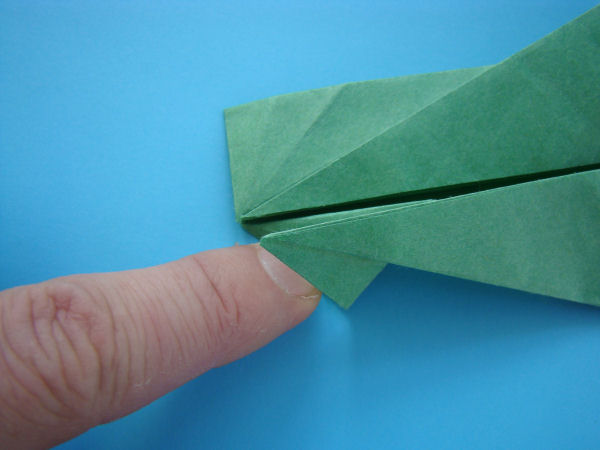
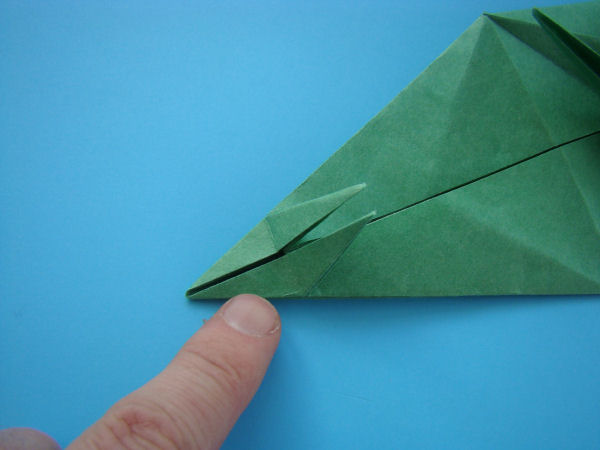
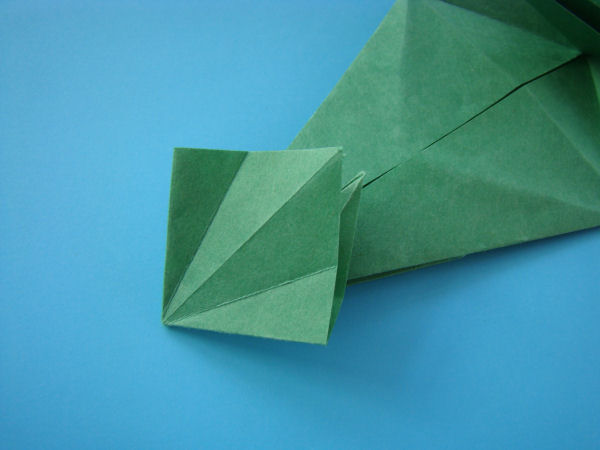
Step 52 Reverse fold again.
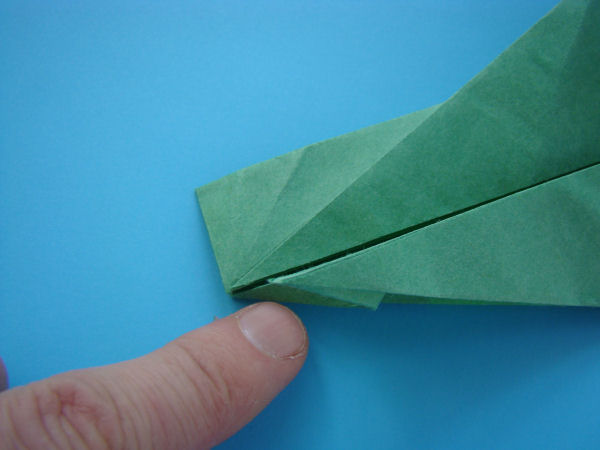
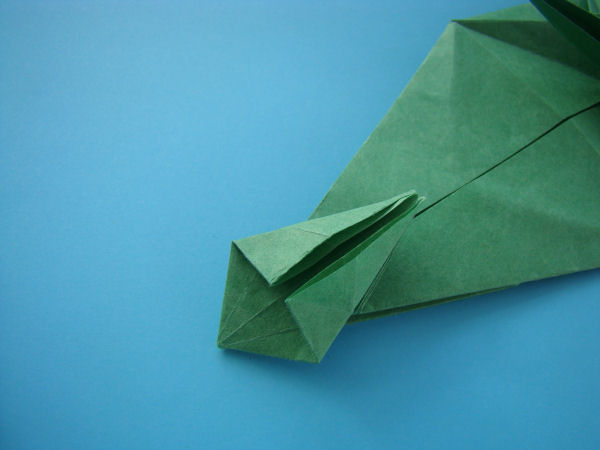
Step 53 And again.
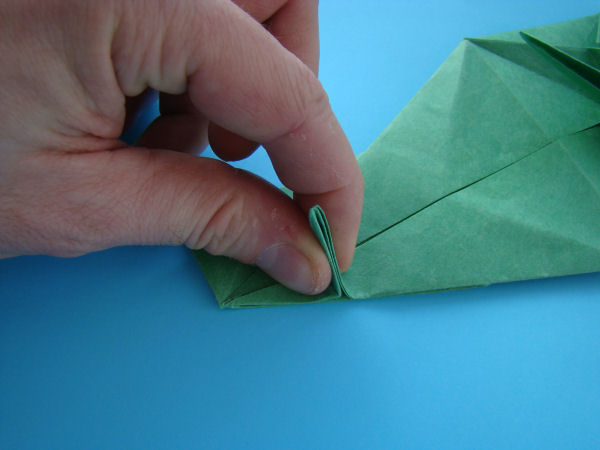
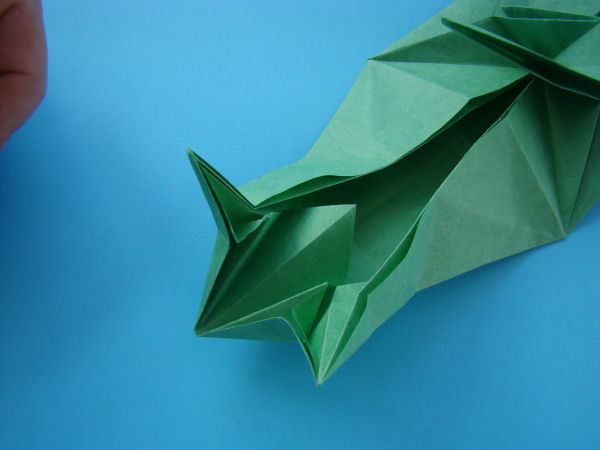
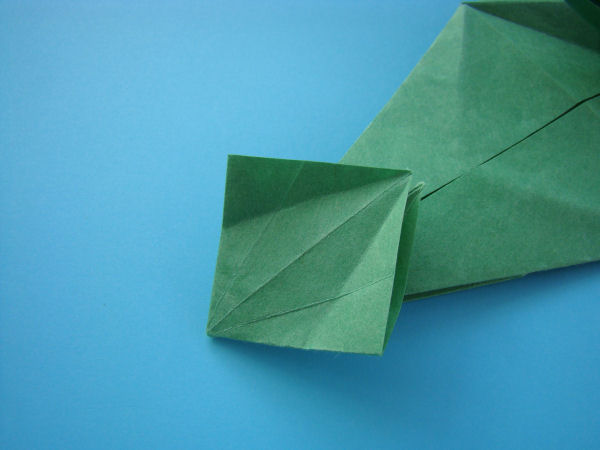
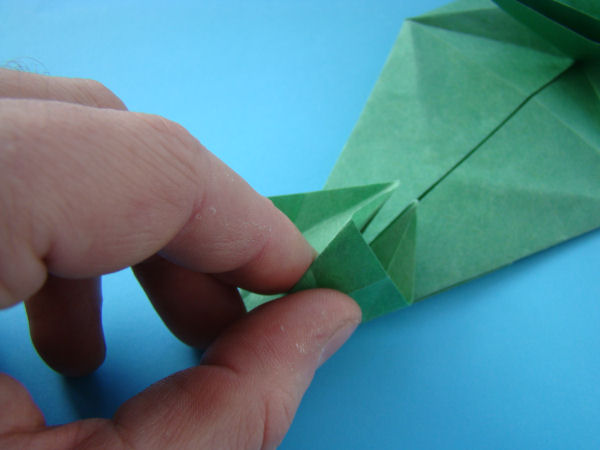
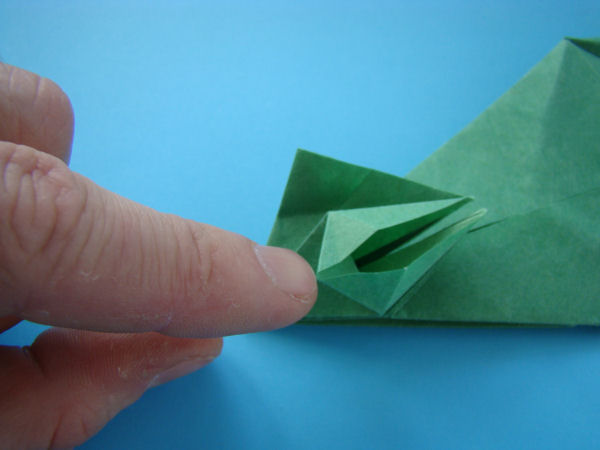
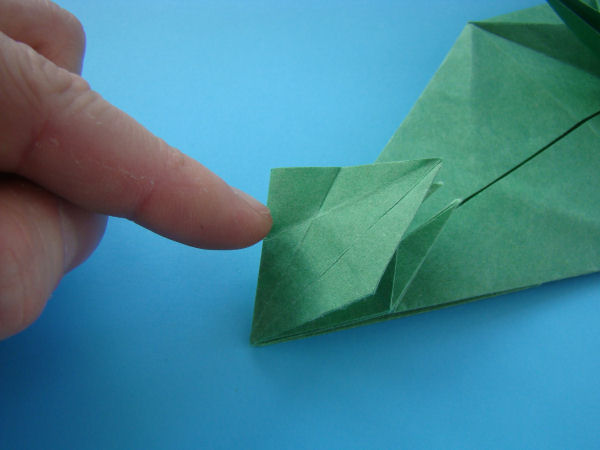
Step 54 Pinch the flap and swing it over.
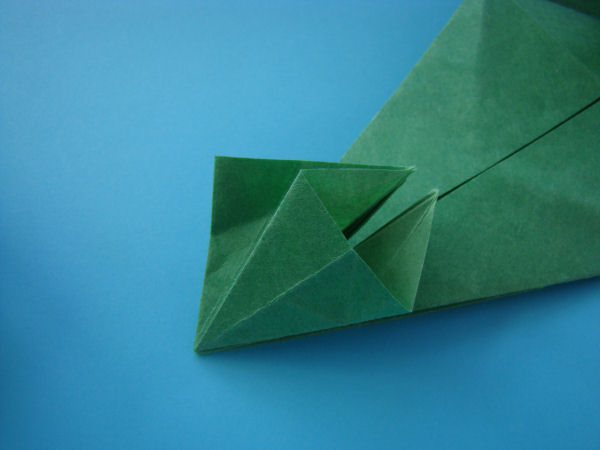
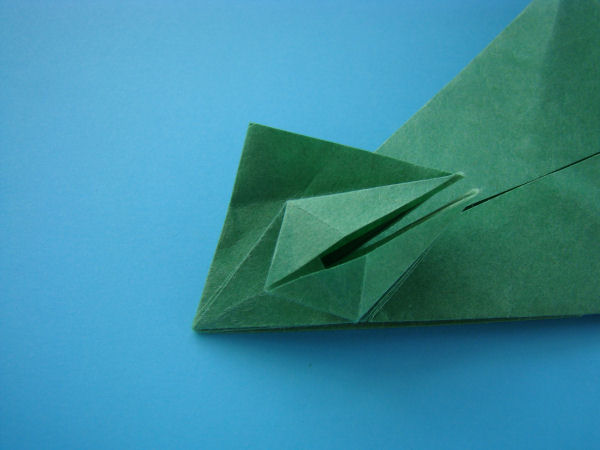
Step 55 Fold flat.
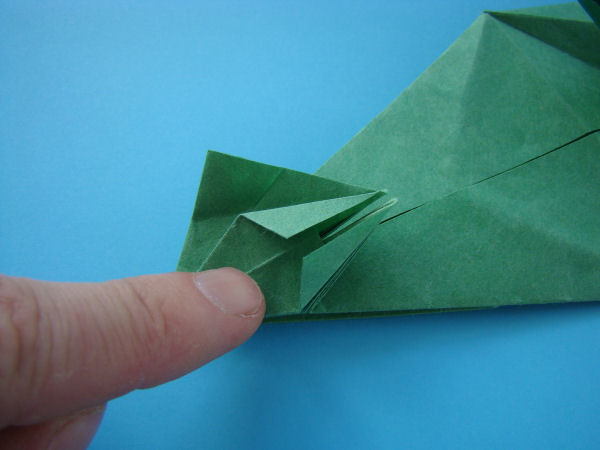
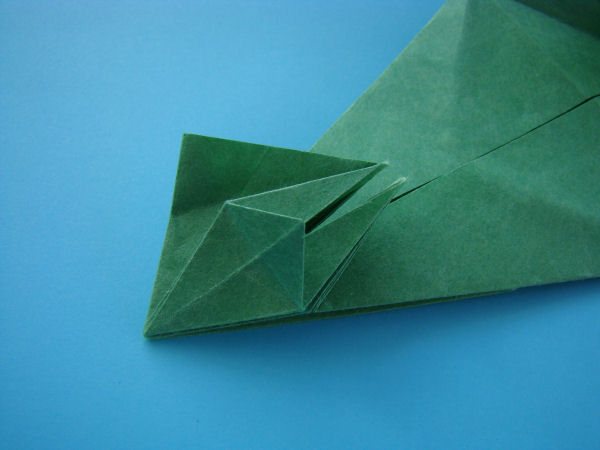
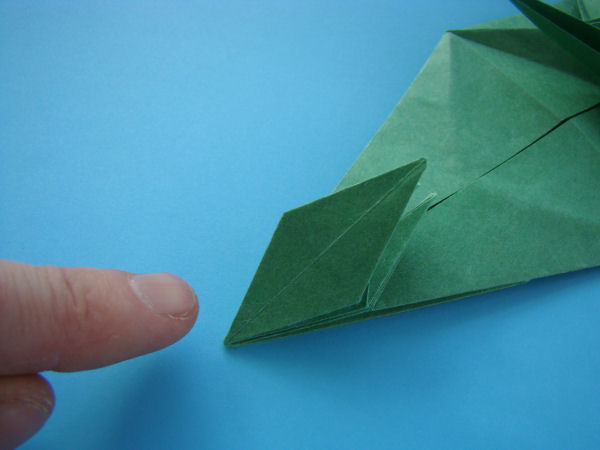
Step 56 Repeat 51-55 on the other side.
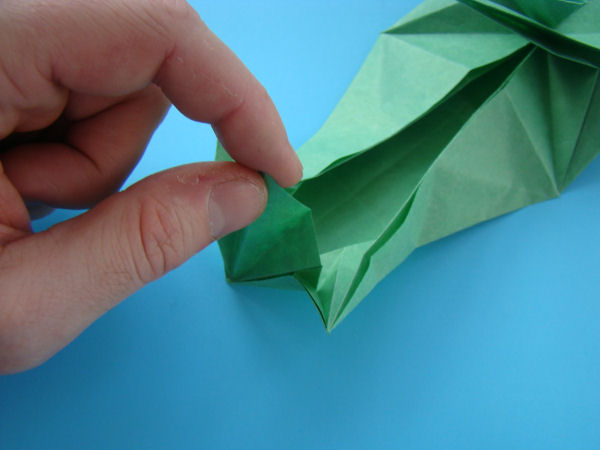
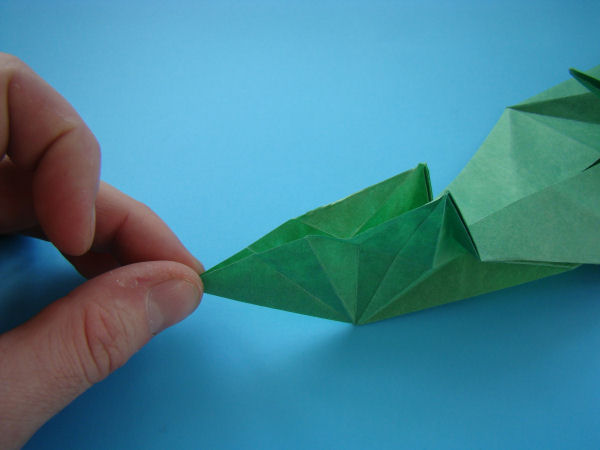
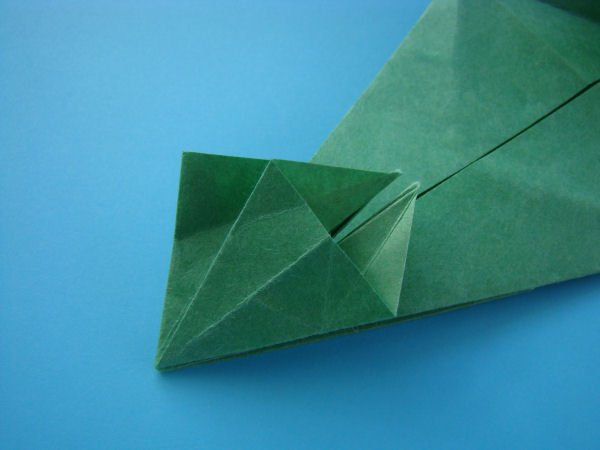
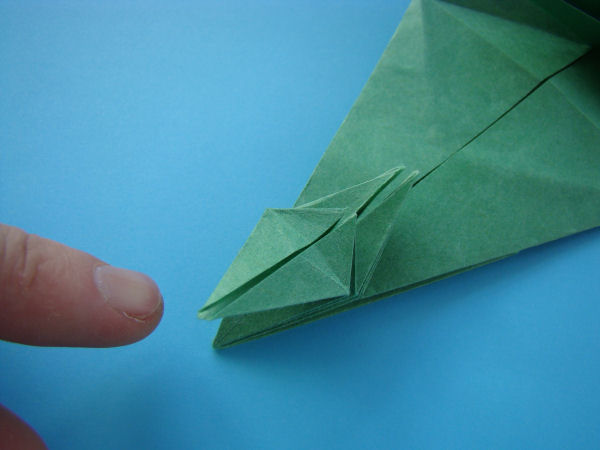
Step 57 Open the model up a little, and locate the hidden corner.
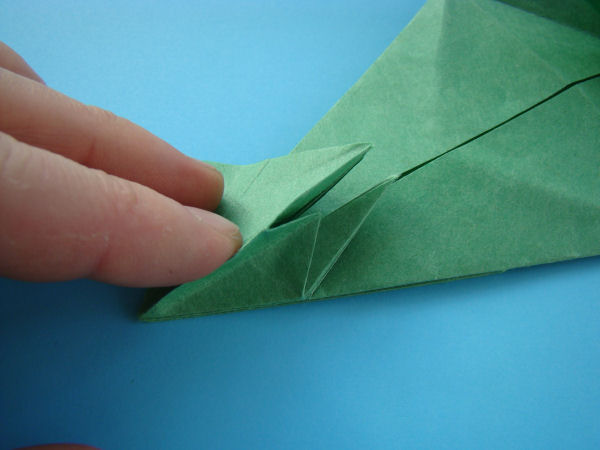
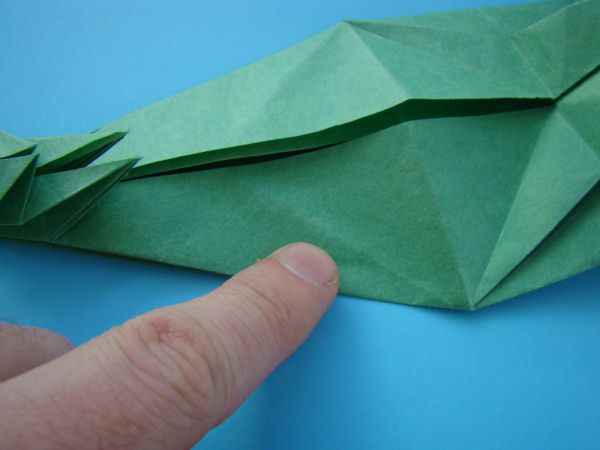
Step 58 Pull it out.
Step 59 And stretch.
Step 60 And squash flat

Step 61 Like so.
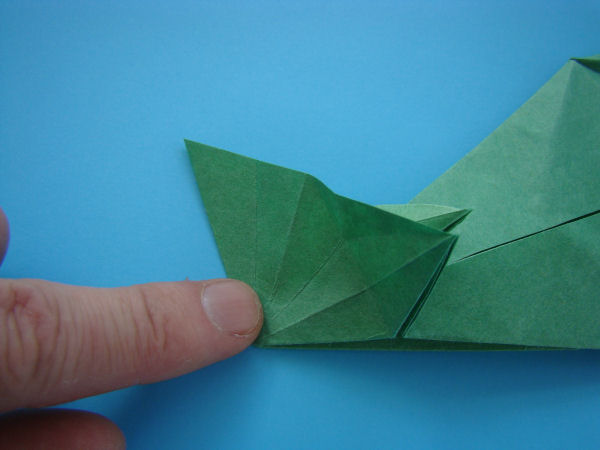
Step 62 Open the new flap out and squash.
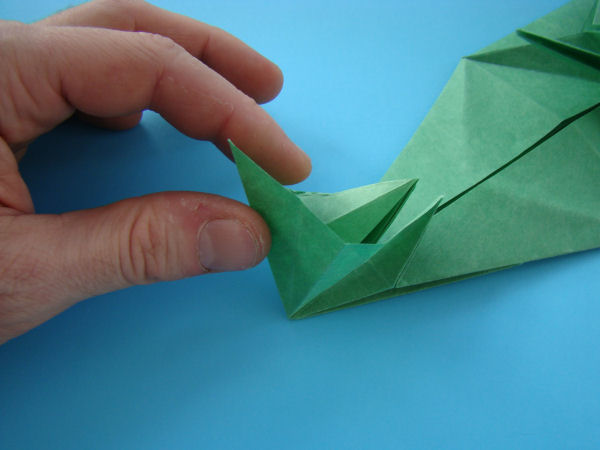
Step 63 You will now have half a preliminary base at one end of the model. You are now going to turn it into a frog base.
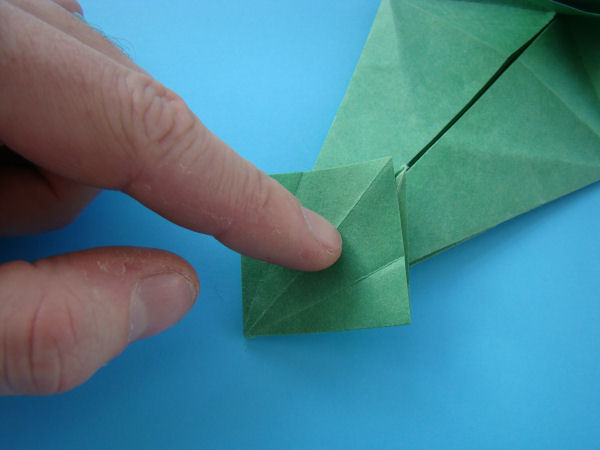
Step 64 Pre-crease.
Step 65
Step 66 Fold over.

Step 67 Repeat on the other side, and unfold.
Step 68 Like so.
Step 69 Squash fold.
Step 70
Step 71 Pre-crease.
Step 72
Step 73 Petal fold down
Step 74
Step 75 Fold the new flap over.
Step 76 Fold the layer over.
Step 77 Like so.
Step 78 Repeat 69 to 77 on the other side.
Step 79 Fold the flap over.
Step 80 Turn the two mountain folds here into valley folds.
Step 81
Step 82 Like so.
Step 83 Repeat on the other side.
Step 84 Turn over.
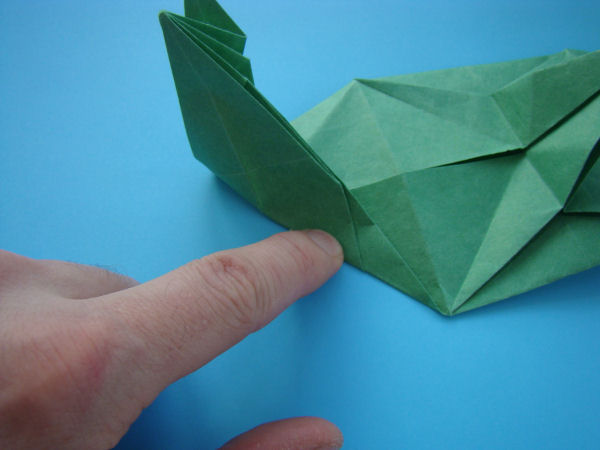
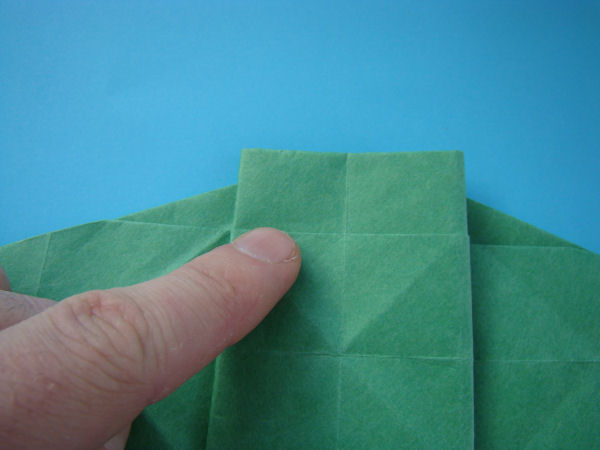
Step 85 Note where the diagonal fold crossed the layer. Make a mountain fold.
Step 86 Make a crease on the other side. This crease will determine how close the back legs are to the front legs. If you make the crease a millimetre just behind (towards the tail) where the diagonal crossed the edge, the body will be a little longer, and will have a broader base.
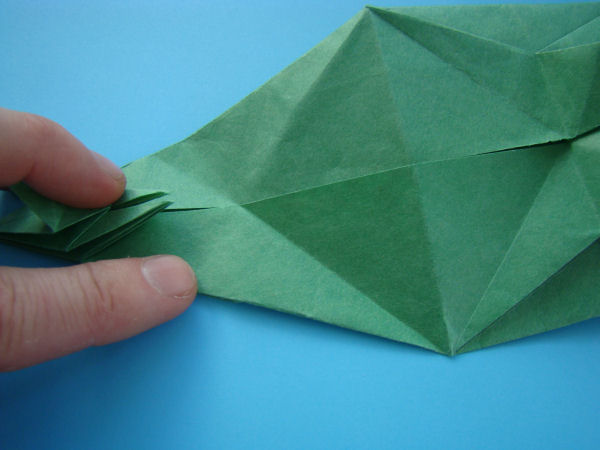
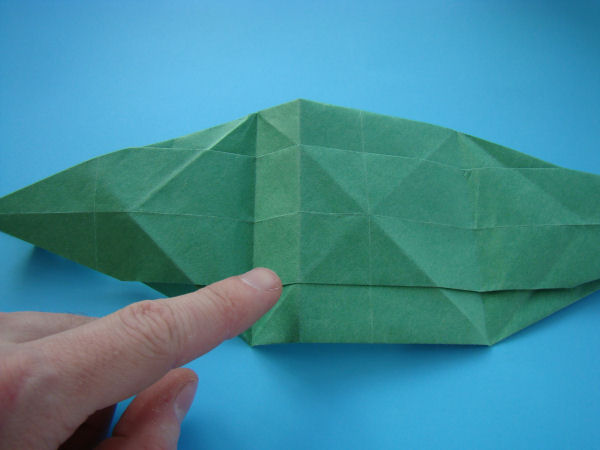
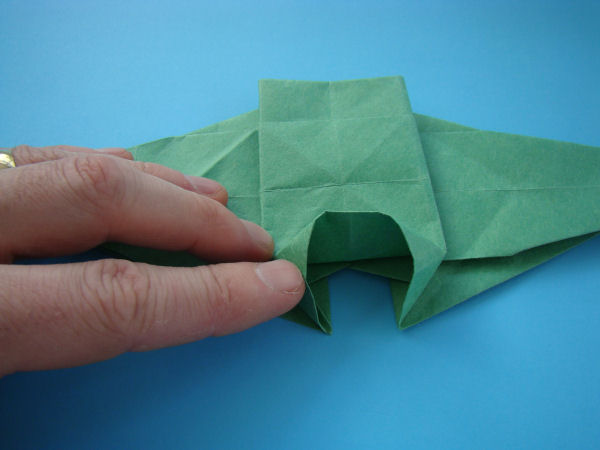
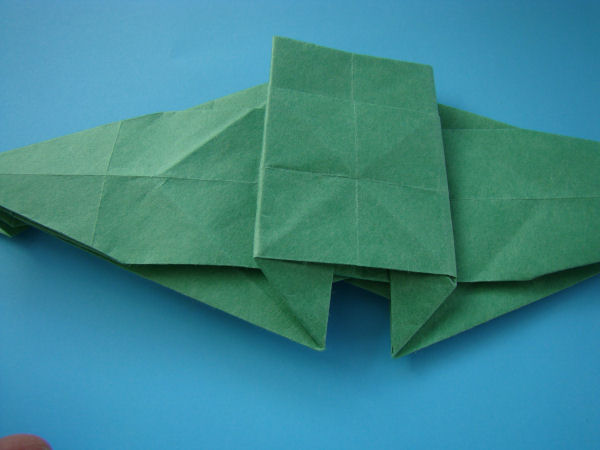
Step 87 Pleat as shown.
Step 88 Like so. Note where the crease to the right lies - just past the diagonal. Lift the layer up and squash it flat.
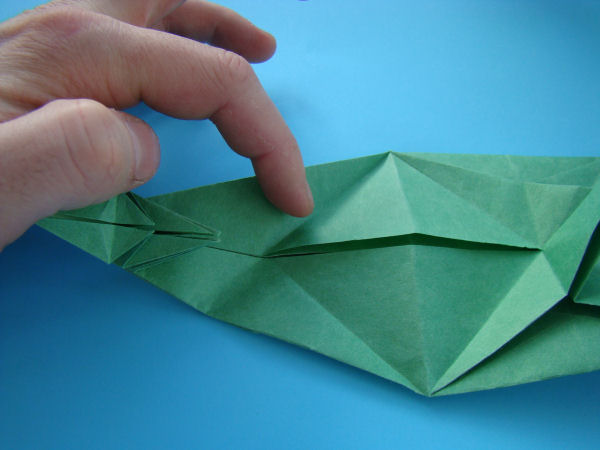
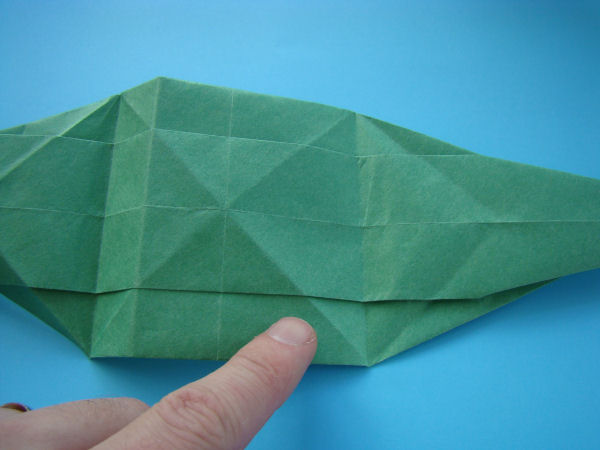
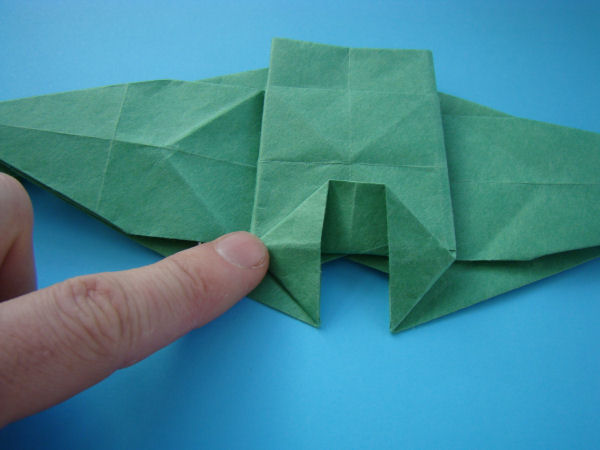
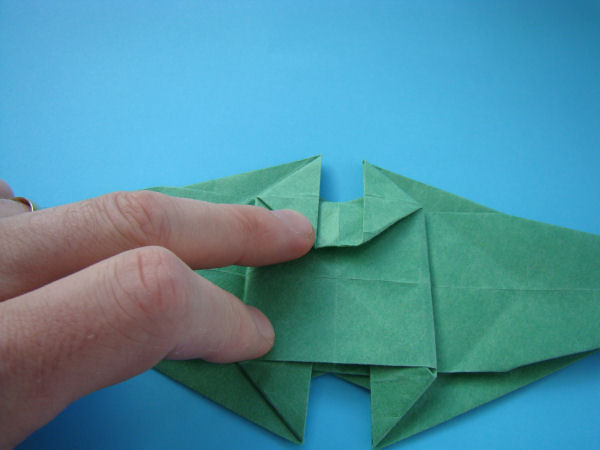
Step 89 Fold in progress.
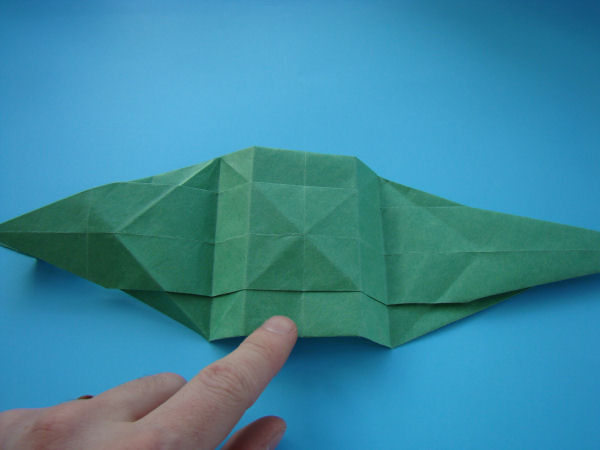
Step 90 Like so. Fold the flap over.
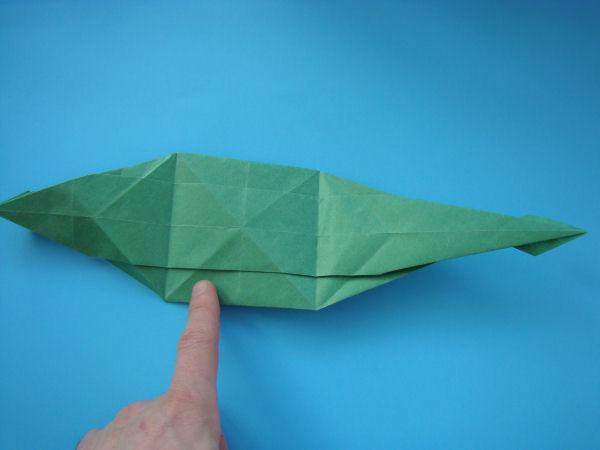
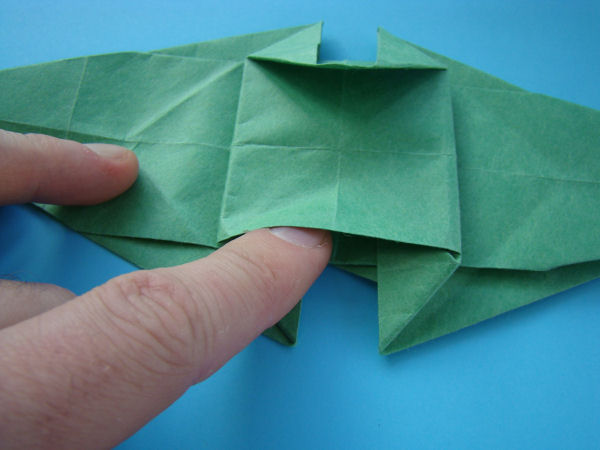
Step 91 Like so.
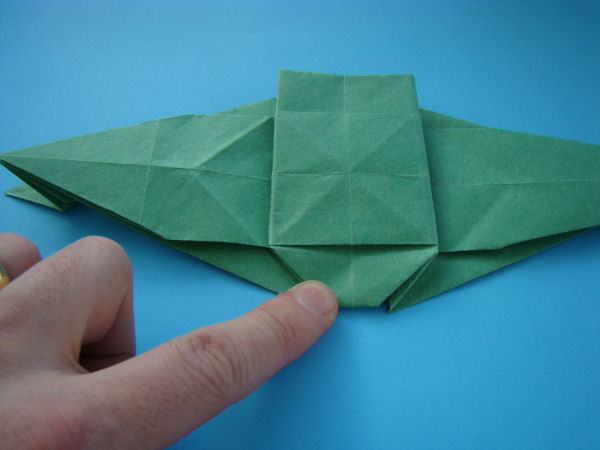
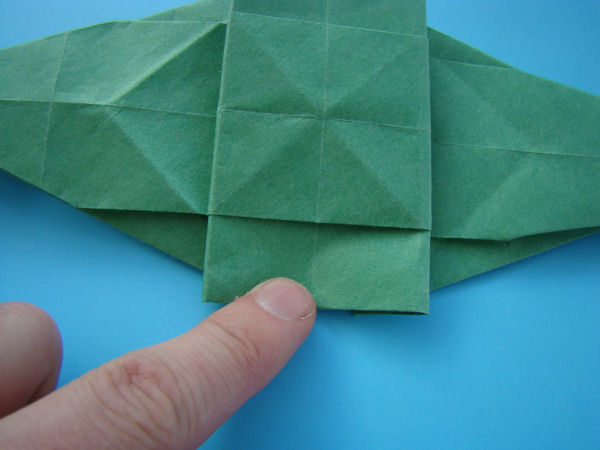
Step 92 Note this pocket.
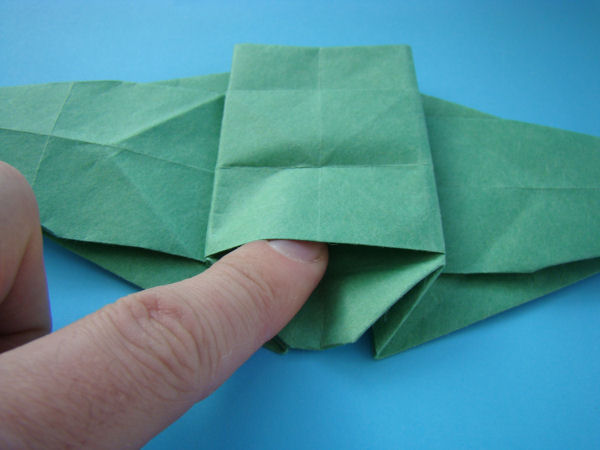
Step 93 Tuck the flap into the pocket.
Step 94 Squash this side down.
Step 95 Like so. Do not tuck this flap under...
Step 96 ...during step 106, the flap will be tucked into this pocket to lock the model.
Step 97 Turn the model over, and start to fold in half.
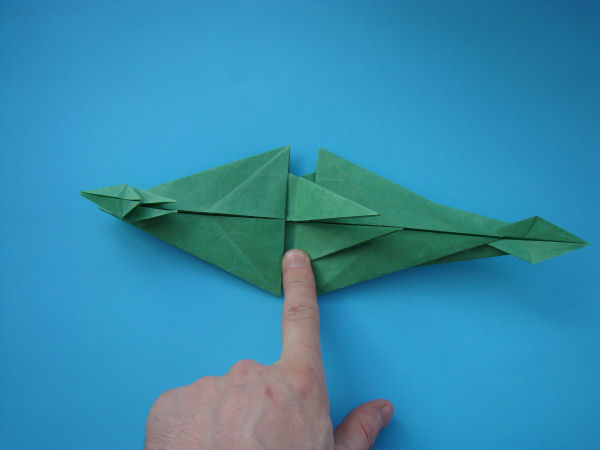
Step 98
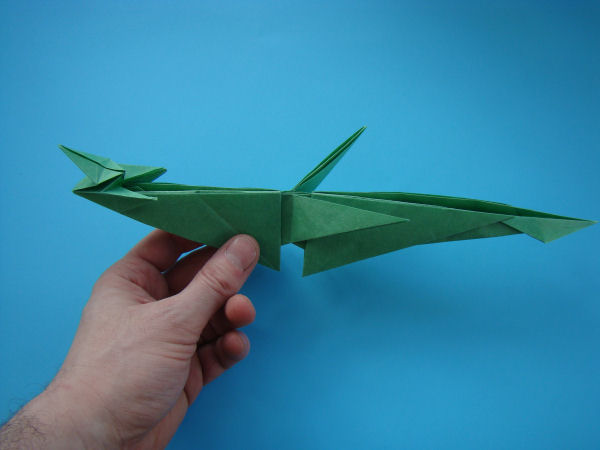
Step 99 Outside reverse fold using the creases present. Take care not to rip the model.
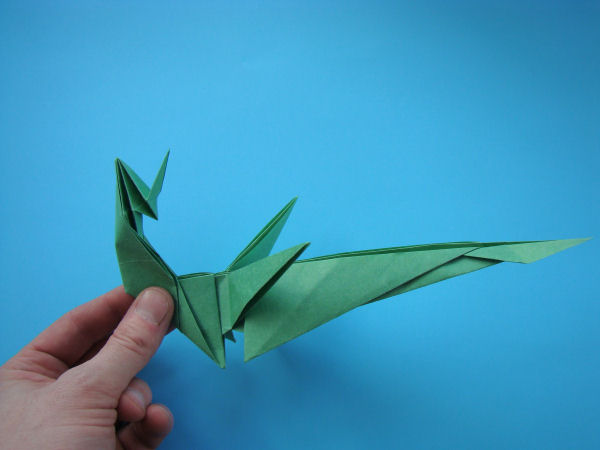
Step 100 Another outside reverse fold. Note that this is not exactly where the ears/horns meet the neck, but a little bit back.
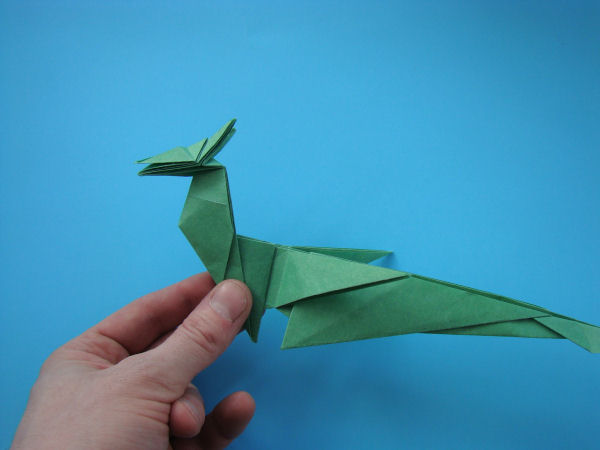
Click here for next page.